Showing posts with label stamps. Show all posts

Tuesday, 31 July 2012

Colourful Calendar

So with all the appointments and visits that i've been having for the baby, i've needed to start a week planner on my magnetic notice-board.   So just to brighten it up a bit, i made magnetic days of the week and dates. 
They are just stamped on fabric with fabric paint and then stretched around a cardboard template with a little bit of padding.  Made in the same way as the previous magnets.  
All i need to do is switch the dates each week and mark in the appointments in wipe-able marker below them...easy!

Wednesday, 30 May 2012

earthy-friendly start

So this is something i forgot to post at the time....this year Earth Hour was 31 March 2012, 20:30–21:30 and i wanted something appropriate for the baby to wear, you know, something earthy and cheery.  Well i carved up some lino stamps and then made a little onsie for our earth-friendly bambino.  
 
He is already doing his bit for the environment by wearing washable nappies (in assorted colours and patterns...i LOVE by the way!) and he will be indoctrinated in the joys of growing his own veg as soon as he can walk in wellies and handle a trowel!!

Monday, 30 April 2012

stamp quickies

So for a craft quickie in these busy days i decided to make some more little rubber stamps, just for fun. 
I made some little baby themed ones for using on Rocco's thankyou notes....and then little love letter and camera ones...i love this craft!

Saturday, 21 April 2012

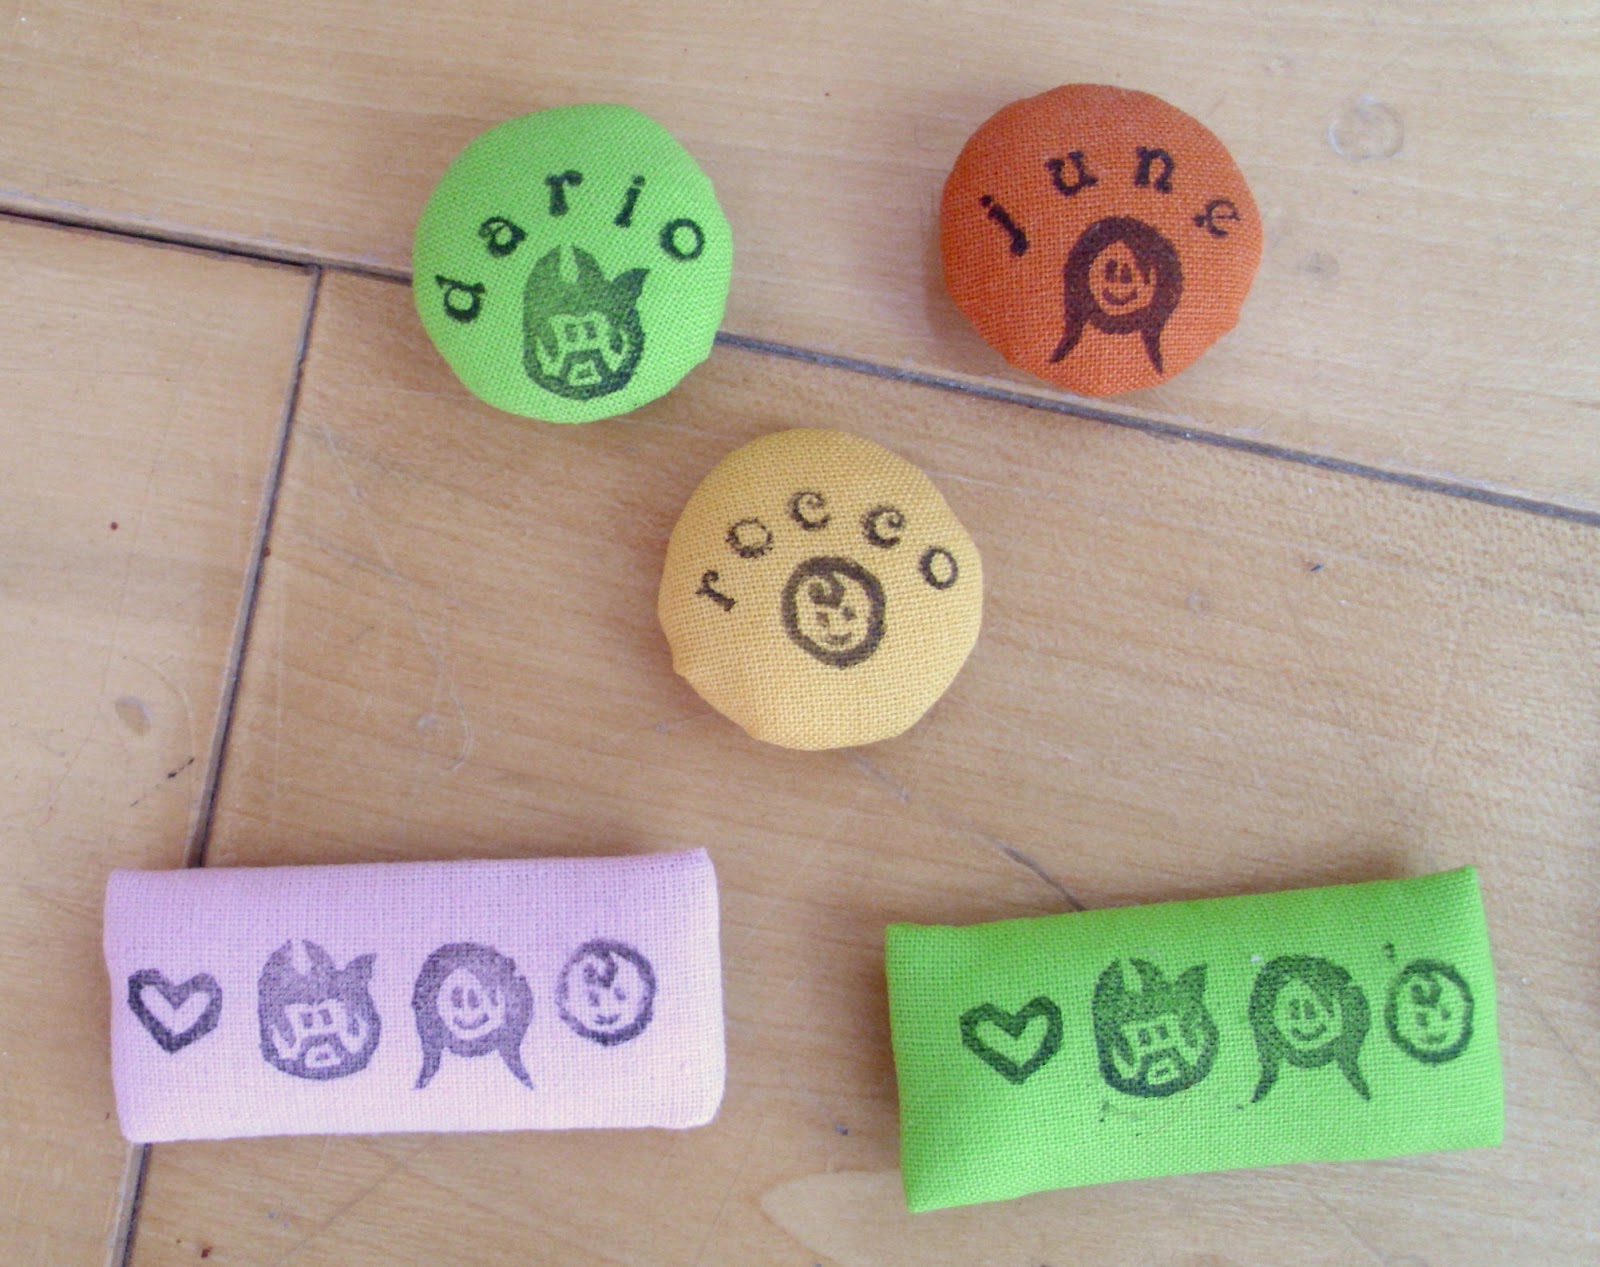
more mini magnets

So it's hard getting time to do any major craft projects at the minute....so i chose a quick and easy one to keep me going...more little magnets for me to stick up baby photos with!  Made in the same way as before.  Although circular ones are really a lot easier to make neatly!
I also added one to the family magnets to reflect Rocco's arrival...lol there are so many craft projects that i need to add him to to properly reflect our family!! lol!

Saturday, 11 February 2012

stamped sleepsuits

So the plain tie-dyed sleepsuits were a little boring weren't they?? I thought i'd have a go at lino stamping on them. It's a little bit difficult to get the stamps to look very neat because the fabric is jersey and so each time the fabric "gives" a little, making it a little bit scruffier than stamping on linen or cotton poplin.
Anyway, I made a bunch of little vehicle lino carved stamps in the usual way and stamped up the little suits with fabric paint before curing them with a hot iron.
I'm quite pleased with how they turned out!

Monday, 31 October 2011

not-so-scary napkins

I couldn't buy orange or black napkins anywhere for my halloween party! So i resorted to buying boring cream and stamping them up with a not-so-scary bat motif. I also stamped up the serviettes for round the cutlery etc.In the end I actually like them better than just plain ones - yay!

Saturday, 9 July 2011

line of lino flamingos

One of my colleagues told me a hilarious story about flamingos recently - well the story wasn't particularly funny it was more that the person was telling it, assuring me that it was the truth and i am perfectly convinced that it was wholly a figment of their over-active imagination...less said about that the better! Anyway, it put them in my mind and i was thinking they would make a cool band around the bottom of a pink 50s style skirt. So i carved up a stamp from the 5mm SOFT lino.
As always, it was a dream to carve and fun to stamp. When i finally get round to making something from it, i'll wear the skirt in honour of tall-tale-tellers everywhere!

Tuesday, 21 June 2011

lino leaves

So i'm trying to make some stamps that i can use to embellish material that i can then use in dressmaking - which i'm hoping is going to save me a little money! I love leaf print fabric, particularly oak leaves - they're my favourite leaves, i think.
You'll notice that the vein in the centre of the leaf is missing in the stamp - D'oh!! I cut it out by mistake so now have to do that bit separately - annoying!!!
Now, what to make...

Friday, 17 June 2011

anchors away

Staying on the sailor theme, i cut a little anchor stamp, this time using 3mm lino block...the process, to summarise - was awful. I'll only cut the black SOFT 5mm stuff in the future as it's a lot more fun and you can actually be a lot more accurate because you're not leaning so hard using all your strength to make the incision. I tried warming the lino which helped for about 30 seconds until it cooled down again.
I loaded the stamp a little too full of paint when doing the test stamp as you can see by the uneven colour in the "blocked" areas.
Not sure what i'll use this one for but for now i'm just going to admire my carving and nurse my strained hand and wrist back to health...thin grey lino - NEVER AGAIN!!

Thursday, 9 June 2011

i love you sailor!

So i made these no zip sailor style shorts for summer. I drafted this pattern, loosely based on a really comfortable pair of shorts i bought about a million years ago. I posted the pattern for free on the Burdastyle website along with very long-winded instructions and lots of pictures of how to make them!!

The fabric i used is actually cream curtain lining at £1.50 per metre (cheaper than the muslins!) and then i stamped on the fabric with one of my hand-carved lino stamps and red fabric paint. I’ve got fed up paying over the odds for simple patterned fabric, and so i’m trying to embellish my own and save some money!! (to be spent on more craft supplies of course!)

The luscious lips pocket just occurred to me because of the “i love you” stamp that i used on the fabric. It was so easy that i’ve now decided i must try loads of different shapes..maybe theme it in with the fabric stamp or whatever.

The project was featured on the front page of the Burdastyle website and within 2 days 192 people had downloaded the pattern!! YAY!!!


Friday, 29 April 2011

light as a lino feather

So this is probably the most detailed lino stamp that i did while away at easter (in the camper - it was heaven! full of beaches, lakes, waterfalls, icecream, chocolate and sunshine!)
I'd like to put black feathers all over some teal fabric i have for a 50s style dress i have in mind. I need to take a raised bit off the stamp though..you can see the little smudgy bit on the fabric at the bottom.
This lino is a 4mm block and, not being the SOFT stuff, it was pretty difficult to cut cleanly. If it cooled down at all it started to tear the lino and not cut it, which was a bit of a nightmare. Luckily it was a lovely day and we were all sitting outside in the sun which was warming the block and making it a lot easier. However, every time the sun went behind a cloud, almost immediately the block cooled down and i had to use the great tip from Jezze's blog where she recommends sitting on it for a while to warm it up!
I got there in the end, the SOFT stuff is a lot easier...but perhaps not as durable?? We'll have to see how they last.

Thursday, 28 April 2011

little lino birds

So i brought the lino with me on holiday at easter so there are a few more stamps that i managed to do. This one i thought would be nice stamped round a band at the hemline of a big skirt, which i might just have to have a go at. Again, my printing skills could be better!
These are so quick to do, they're a very satisfying craft i have to say.
I used the same SOFT lino block for this one, and just tried to cut as deep as i could so that none of the grooves would pick up the paint. It's so easy to cut the soft stuff, and those big deep gouges are the stuff of stress-relieving dreams!

i love you in lino!

So i did say that i wanted to have a go at lino printing on fabric. For the first stamp i chose something easy to cut. You can see that i'm not that great at the printing bit...one stamp fades out at the top and one has a big line through it where i was stamping over a groove in my table!...o well, live and learn!
I'll be printing up some fabric with red paint using this stamp and will be making a pair of shorts for the summer...i just have to decide on the perfect shorts pattern to use.
The lino i used here is a 5mm SOFT lino block and i used the standard carving tools that are available for purchase online. I found the instructions on this cool printing blog really useful for getting started. I did one thing differently though and used dressmaker's carbon paper in white to transfer the design - it was super quick and easy!
o yeah and credit goes to superD who stopped me from cutting out the WRONG WAY ROUND (the text must go backwards to make it stamp properly in order) ... that gets me every time! - will.i.ever.learn????!!!

Thursday, 31 March 2011

rubber bubble

Another useful stamp i thought i could use was the speech bubble! I also made a little hi! stamp so that the little matryoshkas could speak and show how friendly they are. And not only the matryoshkas...the mushroom also had something to say...
The main use i find for the stamps is in personalising napkins for dinner parties etc...so easy!

mix and match matryoshka

So having made a rubber matryoshka in one colour out of the plastic erasers, I had said that i wanted to bring a bit of colour to the stamp. I made one with a "hollow" tummy and carved a mini flower to fit inside, and then carved another in two parts allowing me to mix up the colours of the top and bottom. Quick, easy and great fun!
I'm hoping to get into lino printing next so that i can make larger stamps and customise some material...i've a pair of shorts in mind that would work well with a mad fabric.

Monday, 28 February 2011

rubber matryoshka

Just a little quickie....a hand-carved rubber stamp made from simple plastic eraser.
I think i'll make a bigger one...but in different pieces so that i can use more than one colour.....hmmmmm...

Monday, 27 December 2010

spikey rubber stamp

ooops! i had totally forgotten about stamping my napkins and so when i remembered on christmas eve night, i realised that i had no new stamps to use. So i packed some supplies and spent 5mins or so at poog's christmas party sitting in the corner carving out these stamps.
Great..i love rubber stamps they are so quick and forgiving!!

Tuesday, 21 September 2010

cotton anniversary craft

So it was our 2nd wedding anniversary recently, the cotton anniversary. We had a party and everyone had to bring cotton presents...it was great fun!

The place-names were little pieces of cream cotton and gingham pegged to the glasses with mini clothes pegs.
I had a lot of trouble thinking of cotton party favours because i didn't have time to start sewing something for every one of the guests...but finally i came up with the perfect thing!!! TOWEL CUPCAKES!!! lol it was so much fun to make them!! I made large bun-cases from red card and rolled up two facecloths to make a chocolate and vanilla cupcake.
I made little labels with "two" on them and also stamped up the napkins with homemade rubber stamps, just to remind everyone of the phenomenally long time that we've been living together in houseofspoon!!
Here's to many more happy years!!!

Thursday, 26 August 2010

camping stamping

Guess where i'm going this weekend???!!! Yep! you guessed it the blessed day has arrived! Everybody is getting packed up and on the road...soo exciting!Stamps made as usual from simple pencil eraser cut out with a craft knife. I've been looking forward to this trip since i came home from the last one in July! So much so that we even had a holiday themed dinner to celebrate!! So i got to use my stamps on the napkins!!...these are a couple i came upon when clearing up the party...made me smile again...yay holidays!!

Saturday, 31 July 2010

stamp it out!

To break up the dressmaking sequence i wanted to post another wee quick craft that i'm also doing at the minute. I make the little stamps out of normal rubbers (erasers for the US peeps!) and just draw the design (IN REVERSE!) on the rubber in normal pen and then cut away all the white areas with a normal craft knife, or sharp kitchen knife.

It's surprising how accurate you can be! The rubber is very soft so the finished stamps can be easily damaged,but if you look after them they will last indefinitely.
I use mine for making designs on fabric or for stamping personalised napkins for special parties. I've also made quite a few for giving away as wee pressies.